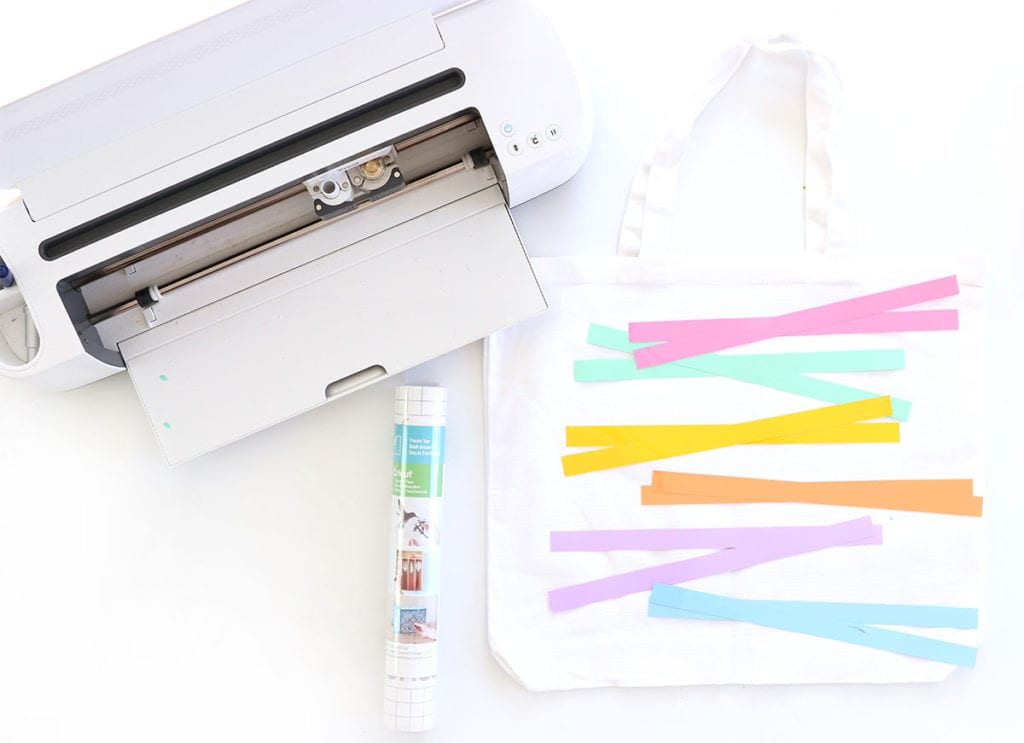
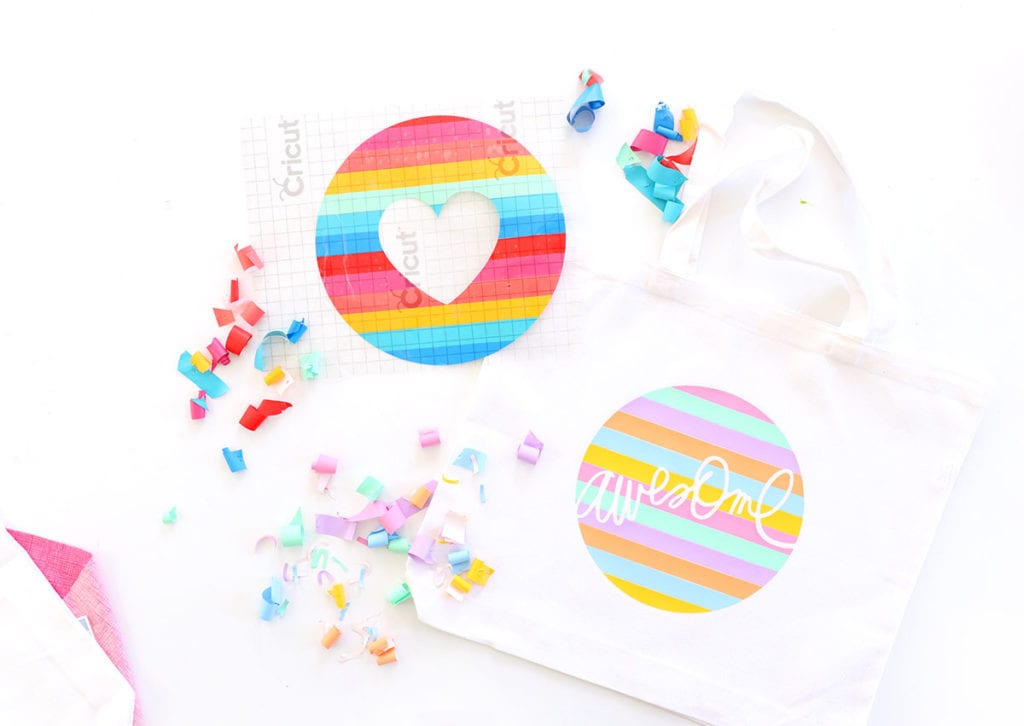
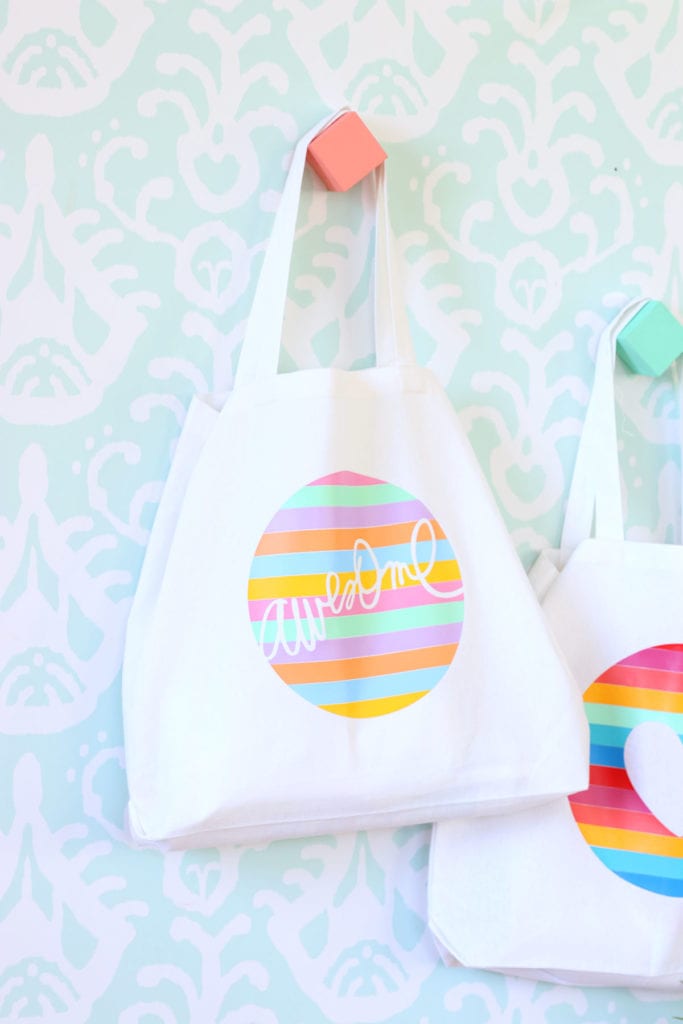
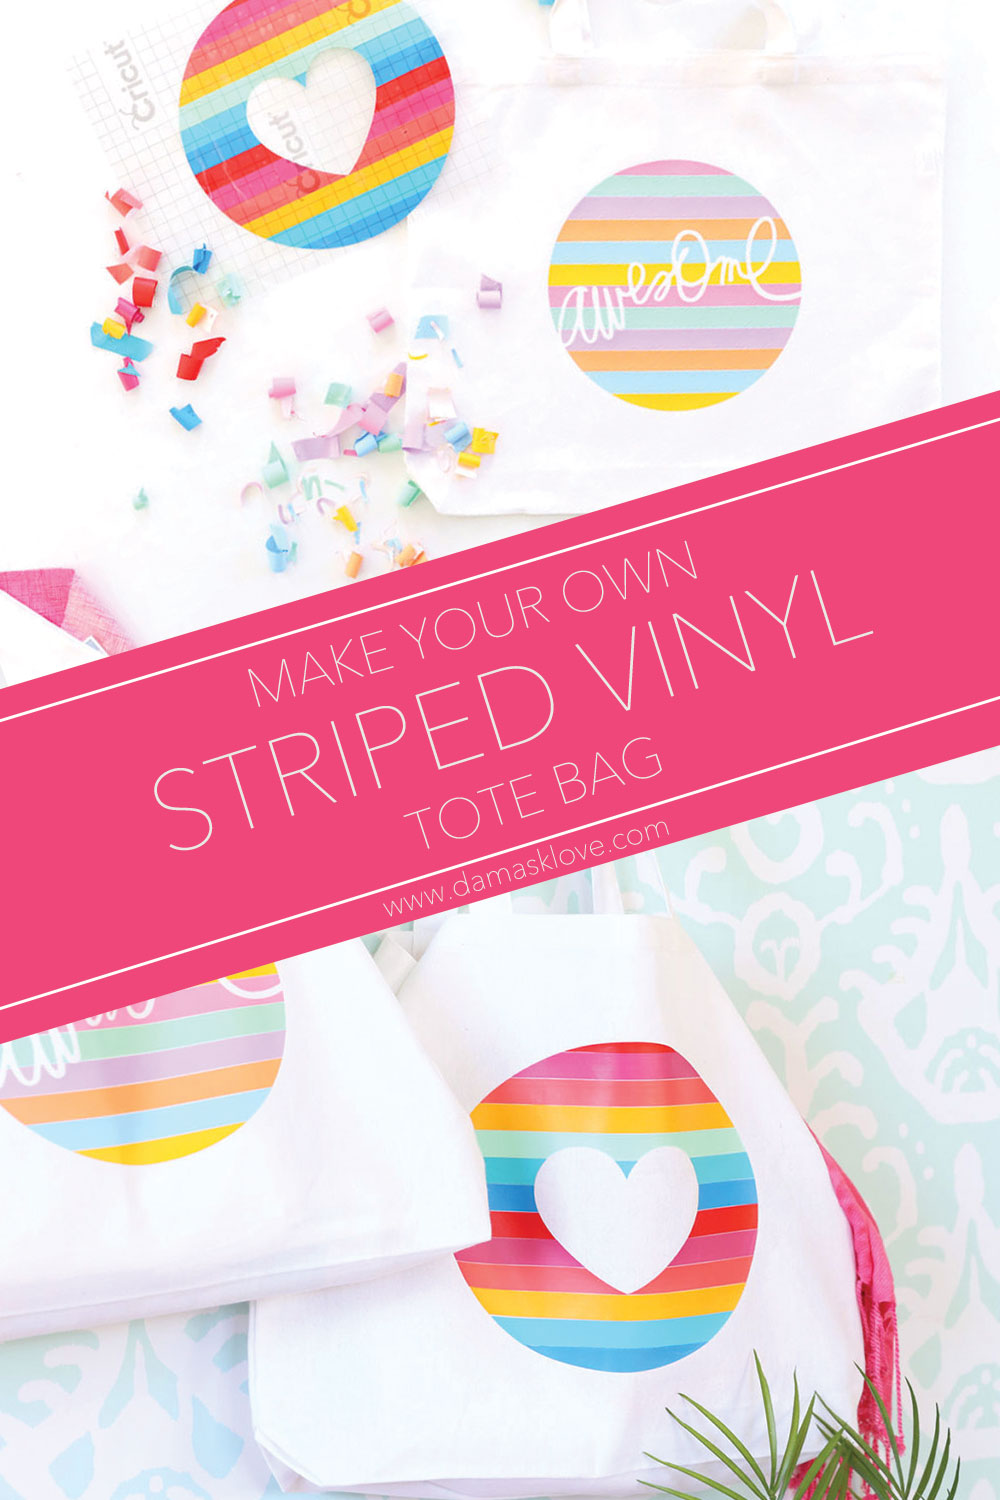
We’re always trying to come up with different ways for you to make the most of your crafting supplies – and today’s project is one that will help you use every last inch of your iron-on material! These striped vinyl iron-on tote bags just require a Cricut Maker or Cricut Explore Air and a little bit of know-how, which is exactly why I’m here.
You’ll need:

Notice: JavaScript is required for this content.
You’ll need:
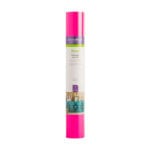
- 1″ wide strips of Cricut Iron-on material in the colors of your choice
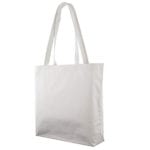
- a tote bag
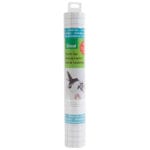
- a roll of Cricut Transfer Adhesive or even better a roll of Adhesive Heat Resistant Transfer Material which you can find on Amazon
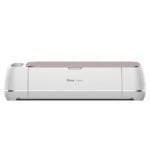
- A Cricut Maker or Cricut Explore Air
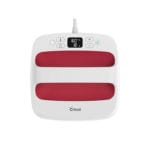
- A Cricut EasyPress or Iron (not pictured here)
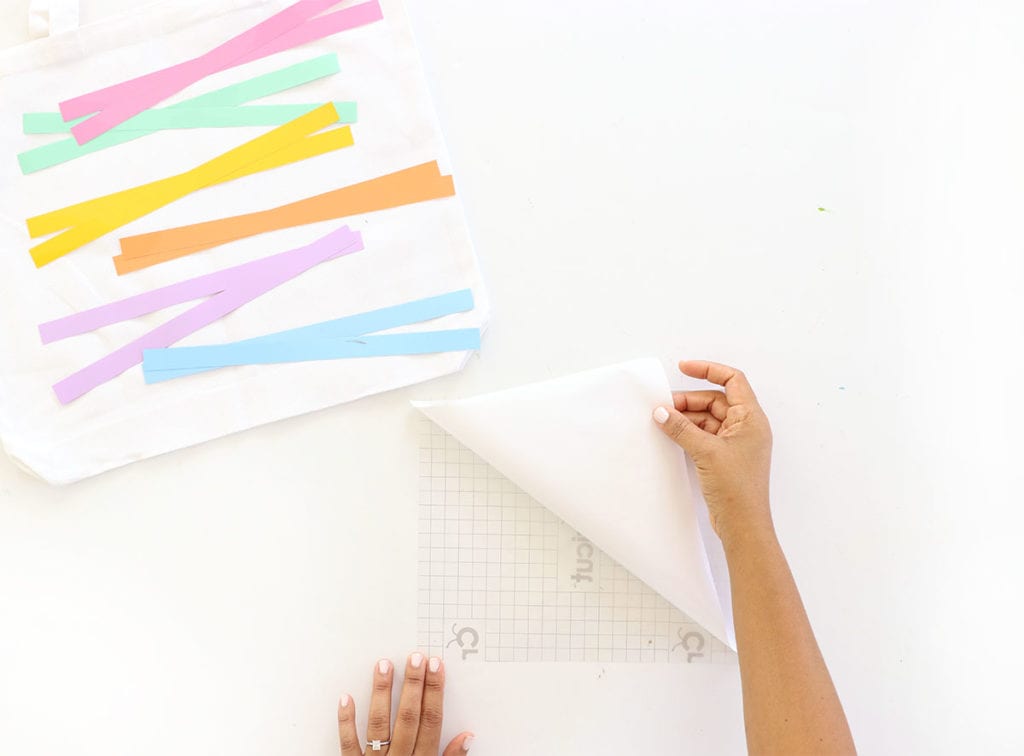
STEP ONE:
Remove the backing from the Cricut Transfer Tape or the Heat Resistant Transfer Material – whichever you’re using.
Remove the backing from the Cricut Transfer Tape or the Heat Resistant Transfer Material – whichever you’re using.
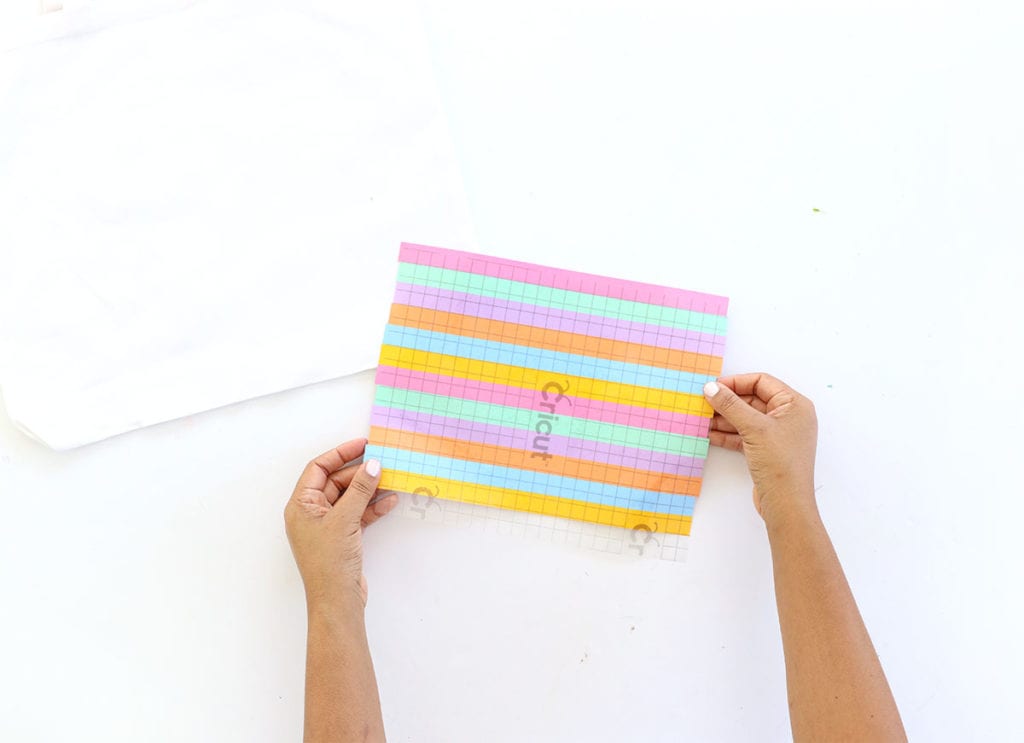
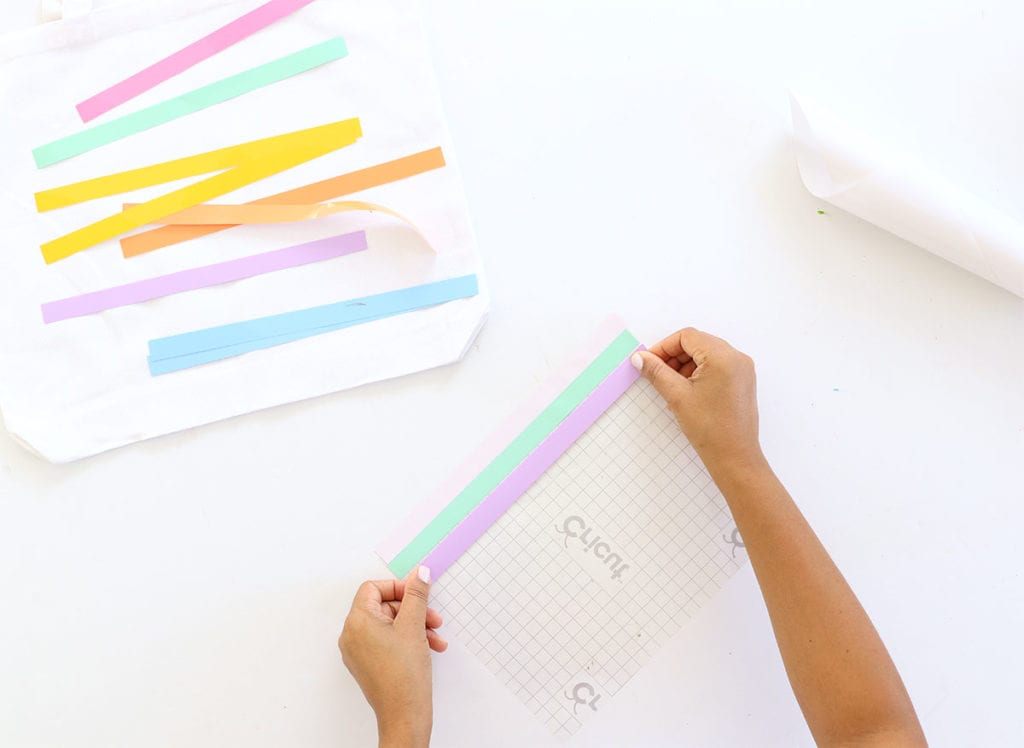
STEP TWO:
Begin placing the iron-on strips facedown onto the transfer material. Facedown means that the shiny side of the transfer material is facing down onto the sticky side of the transfer material
Begin placing the iron-on strips facedown onto the transfer material. Facedown means that the shiny side of the transfer material is facing down onto the sticky side of the transfer material
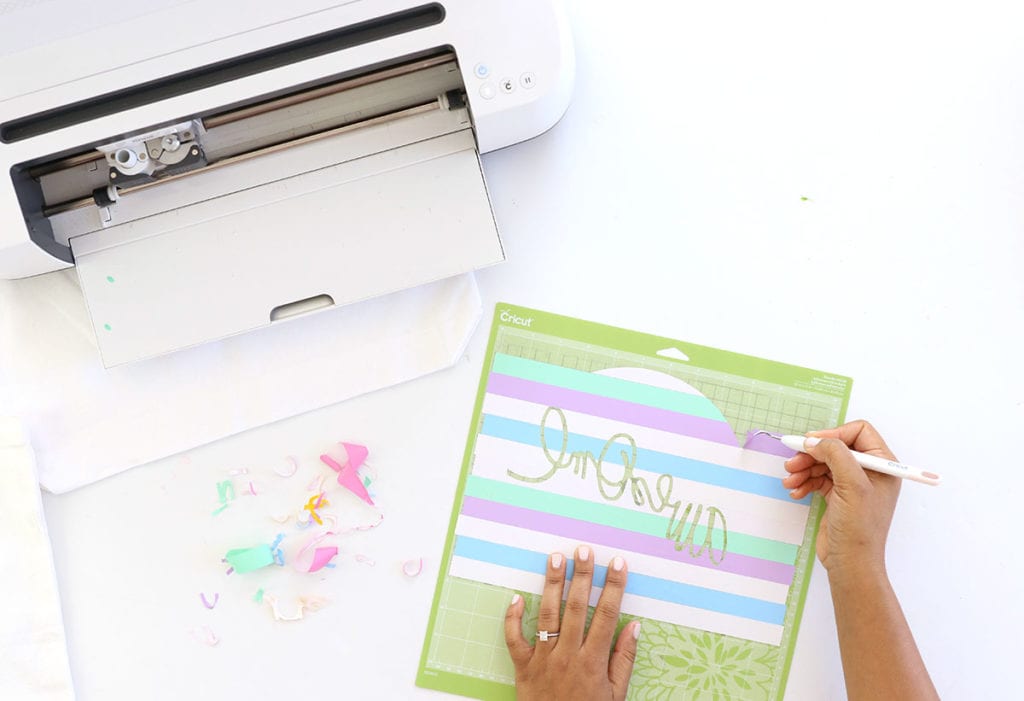
STEP THREE:
Now you can cut out a design using your Cricut Maker or Cricut Explore just as you would if this were a full sheet of iron on material. Next you’ll need to weed.
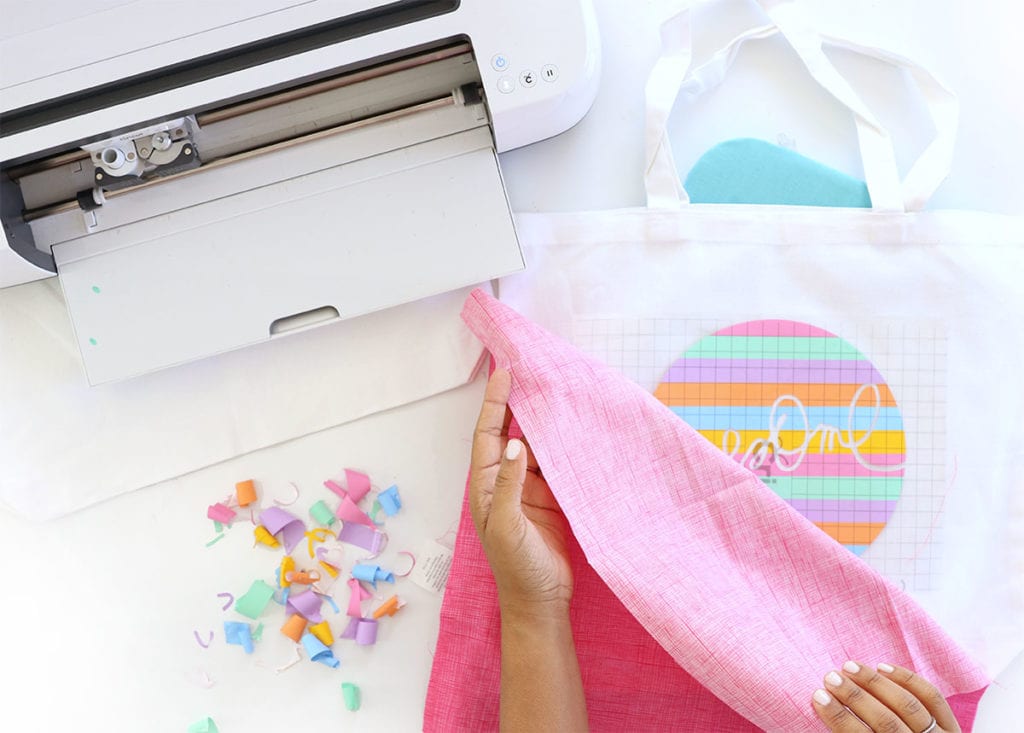
STEP FOUR:
Place the design onto your tote bag. If you are using Cricut Transfer Tape, you’ll want to cover the entire design with a piece of cotton fabric. This will protect from overheating the material as you apply heat with your iron or Easy Press. If you are using Adhesive Heat Resistant Transfer Material, you can skip this step.
Now you can cut out a design using your Cricut Maker or Cricut Explore just as you would if this were a full sheet of iron on material. Next you’ll need to weed.
STEP FOUR:
Place the design onto your tote bag. If you are using Cricut Transfer Tape, you’ll want to cover the entire design with a piece of cotton fabric. This will protect from overheating the material as you apply heat with your iron or Easy Press. If you are using Adhesive Heat Resistant Transfer Material, you can skip this step.
Notice: JavaScript is required for this content.
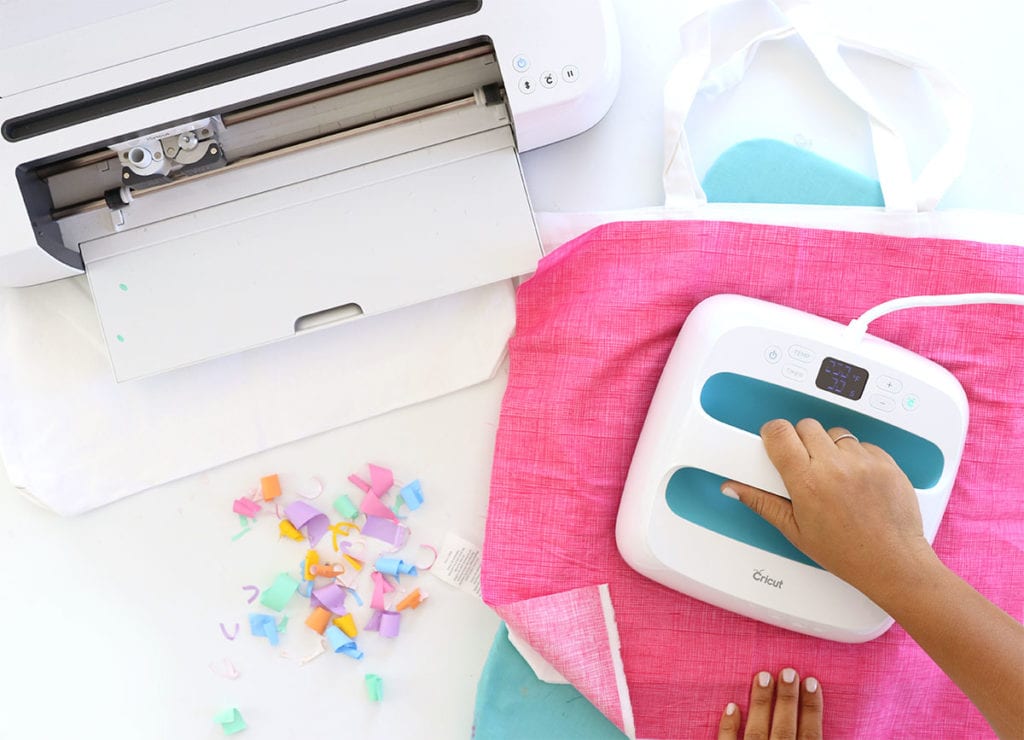
STEP FIVE:
Use an iron or Cricut EasyPress to apply heat to the project. Work slowly and check often to see if the iron on material has started to adhere. Once it’s started to adhere, you can peel back the transfer material and apply more heat to make sure everything sticks securely into place.


The post How To Create a Striped Iron-On Vinyl Tote Bag appeared first on Damask Love.
STEP FIVE:
Use an iron or Cricut EasyPress to apply heat to the project. Work slowly and check often to see if the iron on material has started to adhere. Once it’s started to adhere, you can peel back the transfer material and apply more heat to make sure everything sticks securely into place.
The post How To Create a Striped Iron-On Vinyl Tote Bag appeared first on Damask Love.